1.5) Transform to polymesh ideasToUNVFoam
2) transformPoints -scale '(0.00006 0.00006 0.00006)'
compare dimensions of the grid in pixels to grid dimensions in Holly's Paper
3) Use configuration files in 0 and system for pisoFoam
4) Run the Simulation for 1 to 2 days
5) Change the Configuration file for System to SimpleFoam
----------------------------------------------------------
Run SimpleFoam
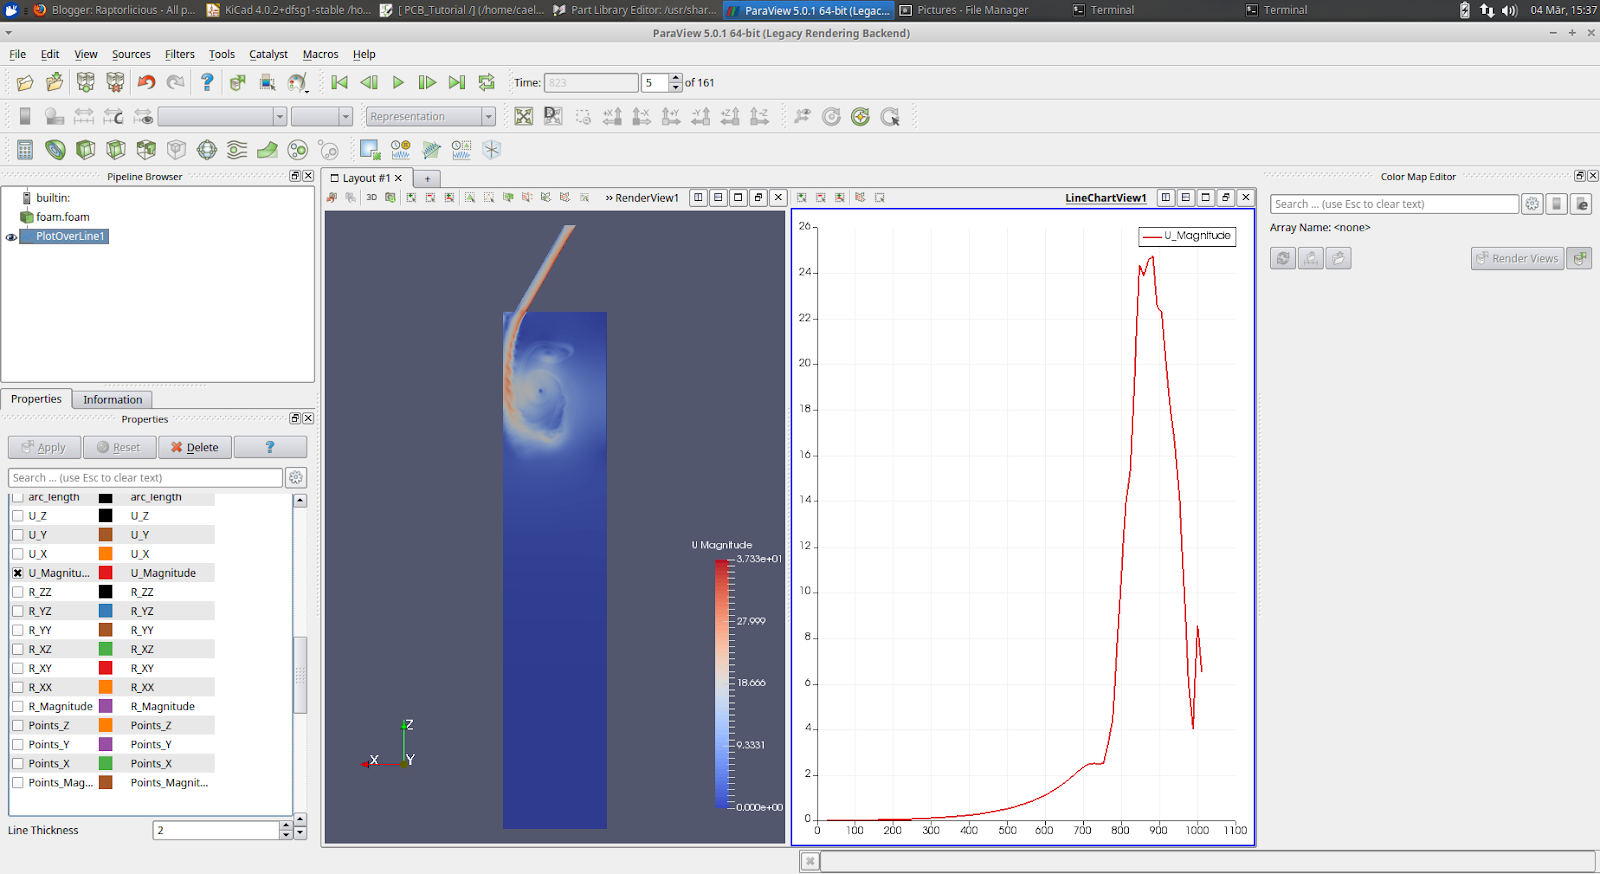
Plot over line in pisoFoam
----------------------------------------------------------
For step 3 see the video:
https://www.youtube.com/watch?v=IPExwi2Ar-g

uref = 17.3 m/s ==> k = 1.122
uref = 8.7 m/s ==> k = 0.284
k = 1.122 m/s ==> epsilon = 4293.94
k = 0.284 m/s ==> epsilon = 546.10
epsilon = 546.10 ==> omega = 1924.001
epsilon = 4293.94 ==> omega = 3825.89
So now I have U, p, k, and epsilon covered.
nut and T were worked out in:
https://github.com/bshambaugh/brentscavity3.bkcup/tree/master/0
R is generated